What to Do After Visiting the Passport Seva Kendra (PSK) Your visit to the Passport Seva Kendra marks a key step in your passport application process. What happens next largely depends on the Police Verification (PV) mode selected for your application (Pre-PV or Post-PV) and the category (Normal or Tatkaal).
1. Track Your Application Status Regularly : What to Do After Visiting the Passport Seva Kendra (PSK)
This is the most crucial step. Your application file moves through several stages after you leave the PSK.
- How to Track:
- Visit the official Passport Seva website and use the “Track Application Status” option.
- Use the official mPassport Seva mobile app.
- Send an SMS: Type STATUS <FILE NUMBER> and send it to 9704100100.
- Key Statuses to Watch For:
- “Submitted” or “Application granted, Police Verification initiated”: Your file has been accepted and sent for the next stage.
- “Police Verification Submitted” or “Police Verification Report (PVR) received“: The police have completed their check and sent the report back to the Regional Passport Office (RPO).
- “Passport has been printed” or “Passport has been dispatched”: This is the final stage before delivery.
2. Prepare for Police Verification (PV) : What to Do After Visiting the Passport Seva Kendra (PSK)
Police Verification is an essential security step to confirm your identity and address.
| PV Mode | When it Happens | Your Action |
| Pre-Police Verification (Normal Cases) | Before the passport is printed. | The police will contact you to visit the police station or will visit your residence. Keep the required documents (original and copies) ready for their inspection. The clearance of this step is mandatory for passport printing. |
| Post-Police Verification (Tatkaal/Specific Categories) | After the passport is printed and dispatched. | Your passport will be printed and sent to you much faster. The police verification will follow later. You still need to cooperate fully with the police when they contact you. |
- Tip: Ensure you are available and have all the original documents you submitted at the PSK ready for the police officer. A speedy PV process is key to a fast delivery.
3. Receive Your Passport : What to Do After Visiting the Passport Seva Kendra (PSK)
Once the RPO approves your file (and receives a ‘Clear’ PVR in Pre-PV cases), your passport will be printed and dispatched.
- Dispatch Method: Your passport is typically sent via Speed Post by India Post.
- Delivery Tracking: Once dispatched, your status update will include a Speed Post tracking number, which you can use on the India Post website to monitor the delivery.
- Sign-Off: Ensure you or an authorized member of your family is available to sign for the delivery.
4. What to Do Upon Receiving Your Passport : What to Do After Visiting the Passport Seva Kendra (PSK)
- Check all Details Immediately:
- Verify that your Name, Photograph, Date of Birth, Place of Birth, Address, and Signature are all correct.
- Check for any errors in the ECR/Non-ECR status.
- Report Errors: If you find any error, no matter how small, you must report it immediately to the Regional Passport Officer (RPO) and apply for a re-issue with corrections. There is a limited window for reporting printing errors.
- Safeguard Your Passport: A passport is your most important identity and travel document.
- Keep a Copy: Make photocopies of the first and last pages, and store them securely online (e.g., in a secure cloud folder) and offline, separate from the original.
- Protect it: Use a passport holder to protect it from damage.
✈️ Alternate Interpretations of “PSK” (A Travel Agency or Destination)
If “PSK” was not in reference to the Passport Seva Kendra but to a travel-related entity like PSK Tourism LLC (a travel agency) or a tourist spot, here are some general things to consider:
If You Visited a Tourist Destination (e.g., in Delhi-NCR) : What to Do After Visiting the Passport Seva Kendra (PSK)
Assuming the PSK you visited is in or near a major city like Delhi (as PSK stands for Passport Seva Kendra in most major cities):
- Explore Local Attractions: If your visit was short, you might have missed nearby sites.
- Historical/Cultural Sites: Red Fort, Qutub Minar, India Gate, Humayun’s Tomb, Lotus Temple.
- Shopping & Food: Chandni Chowk, Janpath Market, Connaught Place.
- Plan a Weekend Getaway: Take advantage of the trip to explore the region further.
- Wildlife: Bharatpur National Park (Keoladeo Ghana), Sultanpur Bird Sanctuary.
- Heritage: Neemrana Fort-Palace, Agra (Taj Mahal, Fatehpur Sikri).
- Pilgrimage: Mathura/Vrindavan, Haridwar.
If You Visited a Travel Agency (PSK Tourism LLC) : What to Do After Visiting the Passport Seva Kendra (PSK)
If you’ve just finished a consultation or booking with a travel agency like PSK Tourism LLC (which often deals with Saudi/Umrah visas):
- Finalize Travel Preparations:
- Confirm all Bookings: Re-confirm flights, accommodation, and ground transportation.
- Visa/Permits: Double-check the validity dates of your visa and any necessary travel permits or local requirements.
- Currency & Health: Arrange local currency exchange, and check any required vaccinations or health advisories for your destination.
- Pack Smart: Begin organizing your luggage based on the weather, local customs, and duration of your trip.
What to Do After Visiting the Passport Seva Kendra (PSK)
Visiting the Passport Seva Kendra (PSK) is one of the most important steps in applying for an Indian passport. However, your work doesn’t end once you’ve completed the appointment. There are a few key actions and follow-ups to ensure your application is processed smoothly and that you receive your passport on time. What to Do After Visiting the Passport Seva Kendra (PSK)
Below is a comprehensive guide on what to do after your PSK visit:
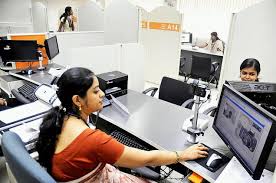
1. Understand What Happened During the PSK Visit : What to Do After Visiting the Passport Seva Kendra (PSK)
Before you leave the PSK, make sure you clearly understand what was completed:
- Biometrics captured: Your fingerprints, photograph, and signature were recorded.
- Documents verified: Original documents were checked and scanned.
- Application token processed: Your file was officially logged into the system.
Once you leave, your file moves to the next stage — police verification or final printing and dispatch, depending on your application type.
2. Check Your Application Status Online
You can track your application status on the Passport Seva website.
Here’s how:
- Go to “Track Application Status” on the homepage.
- Select Application Type → Passport / PCC / Identity Certificate, etc.
- Enter your File Number (found on your receipt) and Date of Birth.
- Click Track Status.
Typical statuses include:
- “Application Submitted” – Your file has been logged.
- “Under Review” – It’s being processed internally.
- “Pending for Police Verification” – You must complete police verification.
- “Police Report Submitted” – Police have sent their report.
- “Passport Printed” / “Dispatched” – Passport is ready or on its way.
3. Prepare for Police Verification (if applicable) : What to Do After Visiting the Passport Seva Kendra (PSK)
For most applicants (especially first-time applicants), a police verification is mandatory.
What to expect:
- The local police station will contact you within a few days to a couple of weeks.
- You may receive a call or SMS for an appointment.
- Keep the following documents ready:
- Original and photocopies of ID proofs (Aadhaar, PAN, voter ID, etc.)
- Address proof (rental agreement, utility bill, etc.)
- Passport application receipt
- Any other document requested by the police officer
💡 Tip: Visit the police station proactively if the verification seems delayed. Carry your documents and mention your file number.
4. Wait for Police Report Submission : What to Do After Visiting the Passport Seva Kendra (PSK)
Once the verification is done, the police submit their report online to the Passport Office.
Possible outcomes:
- Clear Report: Your application moves to the printing stage.
- Adverse Report: You’ll receive an email/SMS notification, and you may need to clarify or resubmit documents.
You can keep tracking your application on the Passport Seva website to see when the report is received.
5. Check for Passport Printing and Dispatch : What to Do After Visiting the Passport Seva Kendra (PSK)
After police clearance, your file goes through:
- Final approval by Regional Passport Officer
- Printing of the passport booklet
- Dispatch via India Post (Speed Post)
You’ll receive an SMS/email with your Speed Post tracking number (consignment number) once it’s dispatched.
You can then track delivery on India Post’s tracking page.
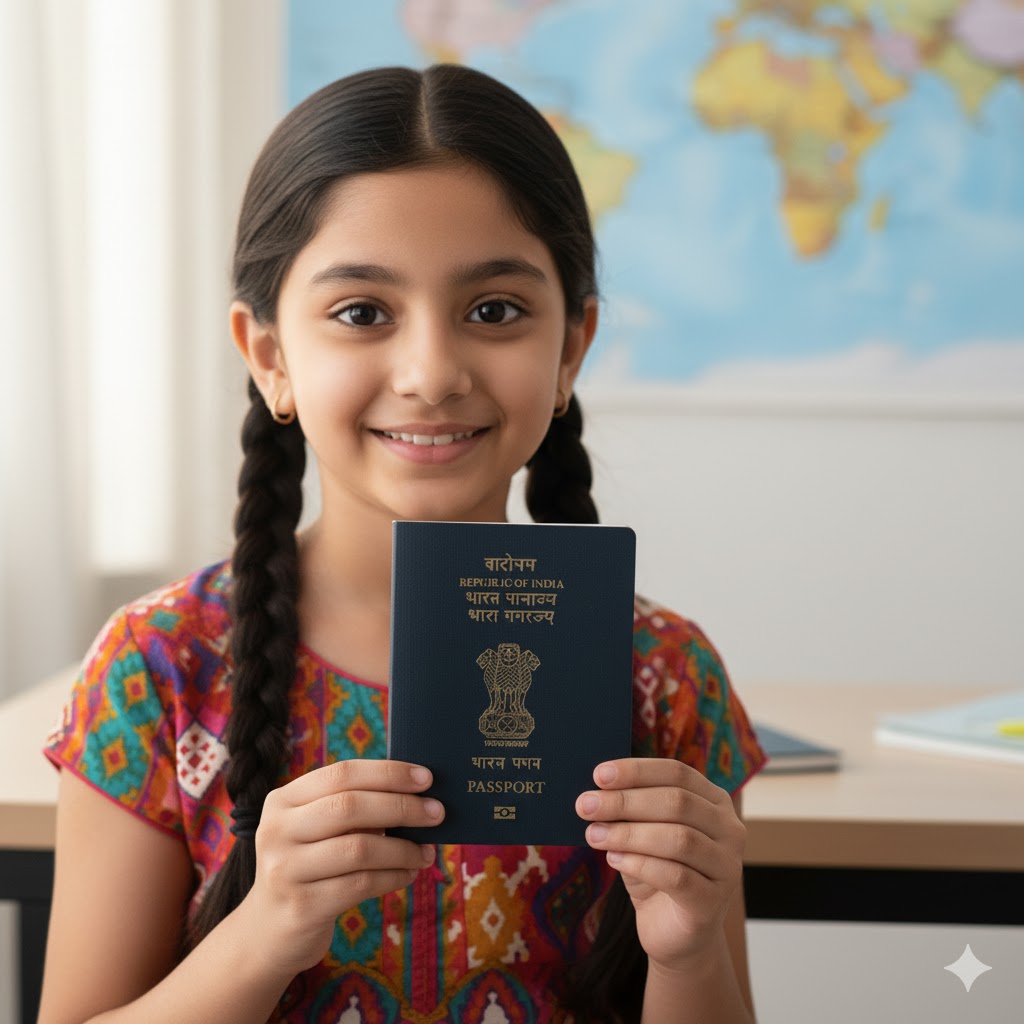
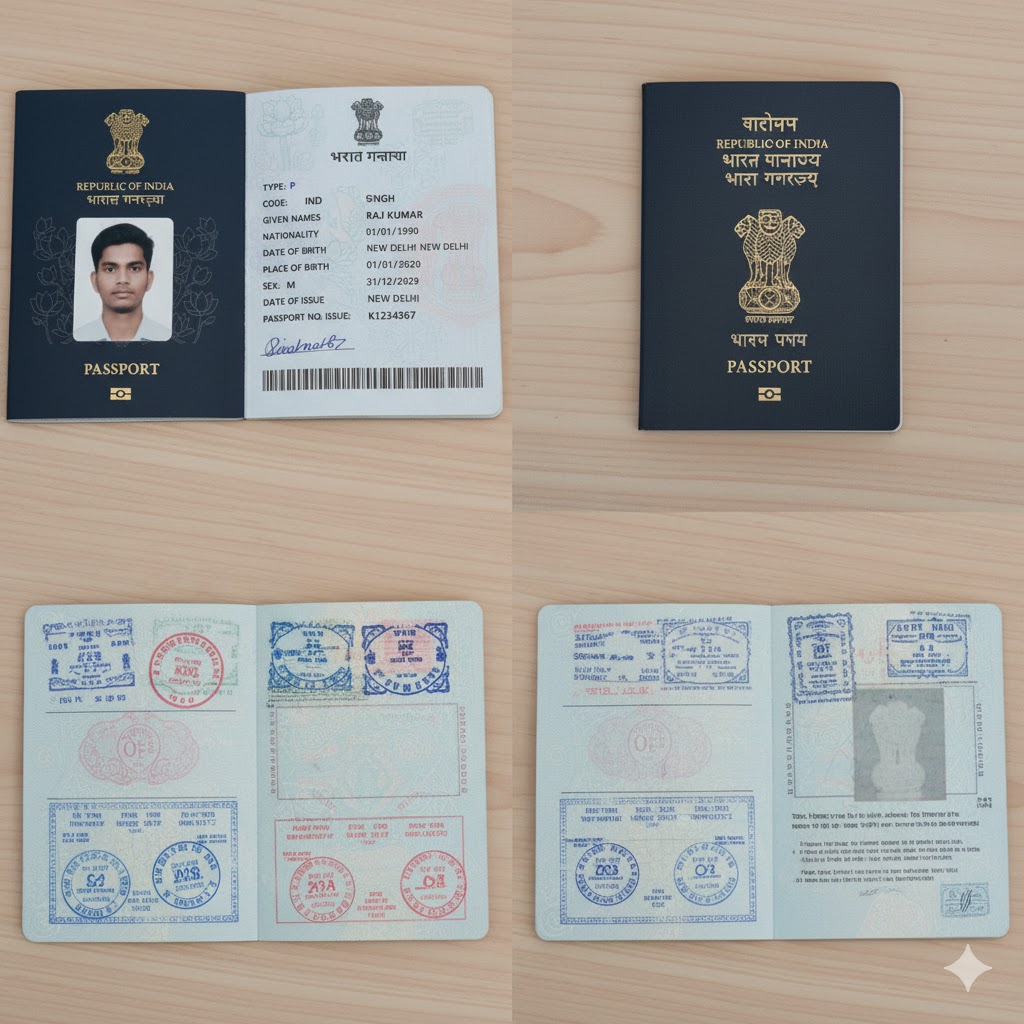
6. Receive and Verify Your Passport : What to Do After Visiting the Passport Seva Kendra (PSK)
When the passport arrives:
- Check the details carefully: name, date of birth, address, photo, and type (Normal/Tatkaal).
- Ensure the MRZ (machine-readable zone) is clearly printed.
- If you find an error, contact the Passport Office immediately or file a correction request online.
7. In Case of Delays or Issues : What to Do After Visiting the Passport Seva Kendra (PSK)
If your passport seems delayed or stuck in one stage for too long:
- Contact the National Call Centre: 1800-258-1800 (toll-free)
- Raise a Grievance through the Passport Seva portal
- Visit the Regional Passport Office (RPO) if urgent, carrying your acknowledgment slip.
For Tatkaal applicants, delays are rare, but you can still check with the RPO if processing exceeds 3–5 days.
8. Keep Your Receipt and Application Copy Safe : What to Do After Visiting the Passport Seva Kendra (PSK)
Your acknowledgment slip and application reference number are critical until you receive your passport.
They are required for:
- Police verification
- Online tracking
- Any future correspondence with the Passport Office
9. Post-Passport Actions : What to Do After Visiting the Passport Seva Kendra (PSK)
After receiving your passport:
- Sign it immediately in the designated space.
- Store it safely in a waterproof case.
- If traveling abroad soon, check visa requirements for your destination.
- Update passport details where needed (e.g., employer, bank KYC, etc.).
✅ Summary of Key Steps After Visiting PSK : What to Do After Visiting the Passport Seva Kendra (PSK)
| Step | Action | Approx. Timeframe |
|---|---|---|
| 1 | Track application online | Within 24–48 hours |
| 2 | Wait for / complete police verification | 1–3 weeks (normal), 2–5 days (Tatkaal) |
| 3 | Wait for passport printing & dispatch | 3–7 working days post-verification |
| 4 | Track delivery via Speed Post | 1–3 days |
| 5 | Verify passport details | On receipt |
🗓️ Typical Timeline After PSK Visit
🟦 A. Normal Passport Application : What to Do After Visiting the Passport Seva Kendra (PSK)
| Day | Stage | What Happens | What You Should Do |
|---|---|---|---|
| Day 0 (PSK Visit) | Application submission | You’ve completed biometrics, signature, and document verification. | Keep your acknowledgment slip safe. |
| Day 1–2 | Application uploaded to system | Your file appears as “Application Submitted” or “Under Review.” | Track status on passportindia.gov.in. |
| Day 3–7 | Police verification initiated | The police station receives your file electronically. You may get a call or SMS. | Be ready with ID and address proofs. If no call within a week, visit your local police station. |
| Day 7–15 | Police visit / verification completed | A police officer visits your residence (or you visit the station). | Provide originals and photocopies of documents. Get the officer’s acknowledgment if possible. |
| Day 10–20 | Police report submitted | The local station sends your report online to the passport office. | Track status – it should say “Police Report Submitted.” |
| Day 15–25 | Passport printing & approval | After a clear police report, your passport is approved and printed. | Wait for SMS/email updates. |
| Day 20–30 | Passport dispatched | You’ll get a Speed Post tracking number (starting with EKXXXXXXXXIN). | Track delivery via India Post Tracking. |
| Day 25–35 | Passport delivered | You receive your passport at home. | Check all details carefully, sign it, and store it safely. |
📦 Total Estimated Time: 2–5 weeks (depending on city and police response).
🟥 B. Tatkaal Passport Application : What to Do After Visiting the Passport Seva Kendra (PSK)
| Day | Stage | What Happens | What You Should Do |
|---|---|---|---|
| Day 0 (PSK Visit) | Application submission | All verification, biometrics, and document checks are done the same day. | Keep your receipt safely. |
| Day 1–2 | Application approved (pre-police verification basis) | Most Tatkaal applications get approved quickly if documents are in order. | Track status online regularly. |
| Day 2–4 | Passport printed and dispatched | You’ll get an SMS with your Speed Post tracking number. | Monitor your delivery via India Post. |
| Day 3–5 | Passport delivered | Passport arrives at your address. | Check all details immediately. |
| After delivery | Post-police verification (if applicable) | Sometimes, a Tatkaal passport requires verification after issuance. | Cooperate with police when contacted; it doesn’t affect your passport validity. |
📦 Total Estimated Time: 1–5 days (can extend if documents need re-verification).
⚠️ Delays Can Happen If: What to Do After Visiting the Passport Seva Kendra (PSK)
- Your address proof or ID documents don’t match exactly.
- Police verification is delayed due to local workload.
- The police report is “adverse” or incomplete.
- You applied during a peak season (e.g., summer or festival months).
In such cases, contact:
- Passport Helpline: 1800-258-1800
- Email: grievance.pp[at]mea.gov.in
- Or visit your Regional Passport Office (RPO) with your file number.
💡 Pro Tips to Speed Up the Process What to Do After Visiting the Passport Seva Kendra (PSK)
- Proactively visit your police station if you don’t get a verification call within 5–7 days.
- Keep the same address on all your documents to avoid mismatched verification.
- Track your file daily for status updates.
- Be polite and prepared during the police visit — it helps smoothen the process.
- Avoid rescheduling PSK appointments; it can push your timeline further.